|
|
||
|---|---|---|
| _modules | ||
| api/tacticalrmm | ||
| docker | ||
| docs/screenshots | ||
| scripts | ||
| web | ||
| .gitignore | ||
| .travis.yml | ||
| LICENSE | ||
| README.md | ||
| azure-pipelines.yml | ||
| install.sh | ||
| update.sh | ||
README.md
Tactical RMM
Tactical RMM is a remote monitoring & management tool for Windows computers, built with Django and Vue.
It uses an agent written in python, as well as the SaltStack api and MeshCentral
Tactical RMM is currently in alpha and subject to breaking changes. Use in production at your own risk.
Features
- Teamviewer-like remote desktop control
- Real-time remote shell
- Remote file browser (download and upload files)
- Remote command and script execution (batch, powershell and python scripts)
- Event log viewer
- Services management
- Windows patch management
- Automated checks with email/SMS alerting (cpu, disk, memory, services, scripts, event logs)
- Automated task runner (run scripts on a schedule)
- Remote software installation via chocolatey
- Software and hardware inventory
Server Requirements
- Any modern linux distro with min 2GB ram (an install script is provided for Ubuntu Server 18.04)
- A domain you own with at least 3 subdomains
- Google Authenticator app (2 factor is NOT optional)
Windows versions supported
- Windows 7, 8.1, 10, Server 2008R2, 2012R2, 2016, 2019
Updating
Download and run update.sh
Installation example (Ubuntu server 18.04 LTS)
Fresh VPS with latest updates
login as root and create a user and add to sudoers group (we will be creating a user called tactical)
apt update && apt -y upgrade
adduser tactical
usermod -a -G sudo tactical
switch to the tactical user and setup the firewall
su - tactical
sudo ufw default deny incoming
sudo ufw default allow outgoing
sudo ufw allow ssh
sudo ufw allow http
sudo ufw allow https
sudo ufw allow proto tcp from any to any port 4505,4506
sudo ufw enable && sudo ufw reload
Our domain for this example is tacticalrmm.com
In the DNS manager of wherever our domain is hosted, we will create three A records, all pointing to the public IP address of our VPS
Create A record api.tacticalrmm.com for the django rest backend
Create A record rmm.tacticalrmm.com for the vue frontend
Create A record mesh.tacticalrmm.com for meshcentral
Download the install script and run it
wget https://raw.githubusercontent.com/wh1te909/tacticalrmm/develop/install.sh
chmod +x install.sh
./install.sh
Enter the following values when prompted:
The install script will begin installing stuff. When it gets to this step, create the django superuser account:
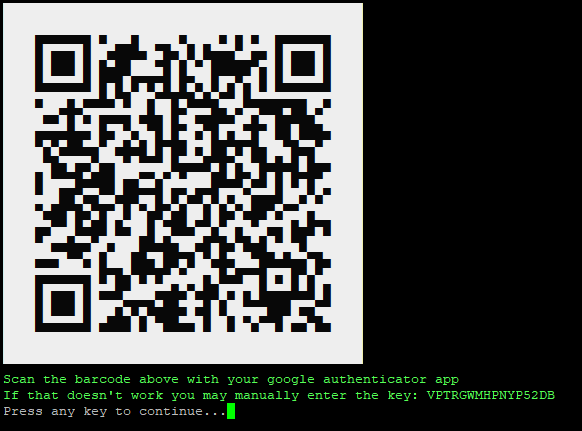
Download the Google Authenticator app on your smartphone and scan the barcode that is generated:
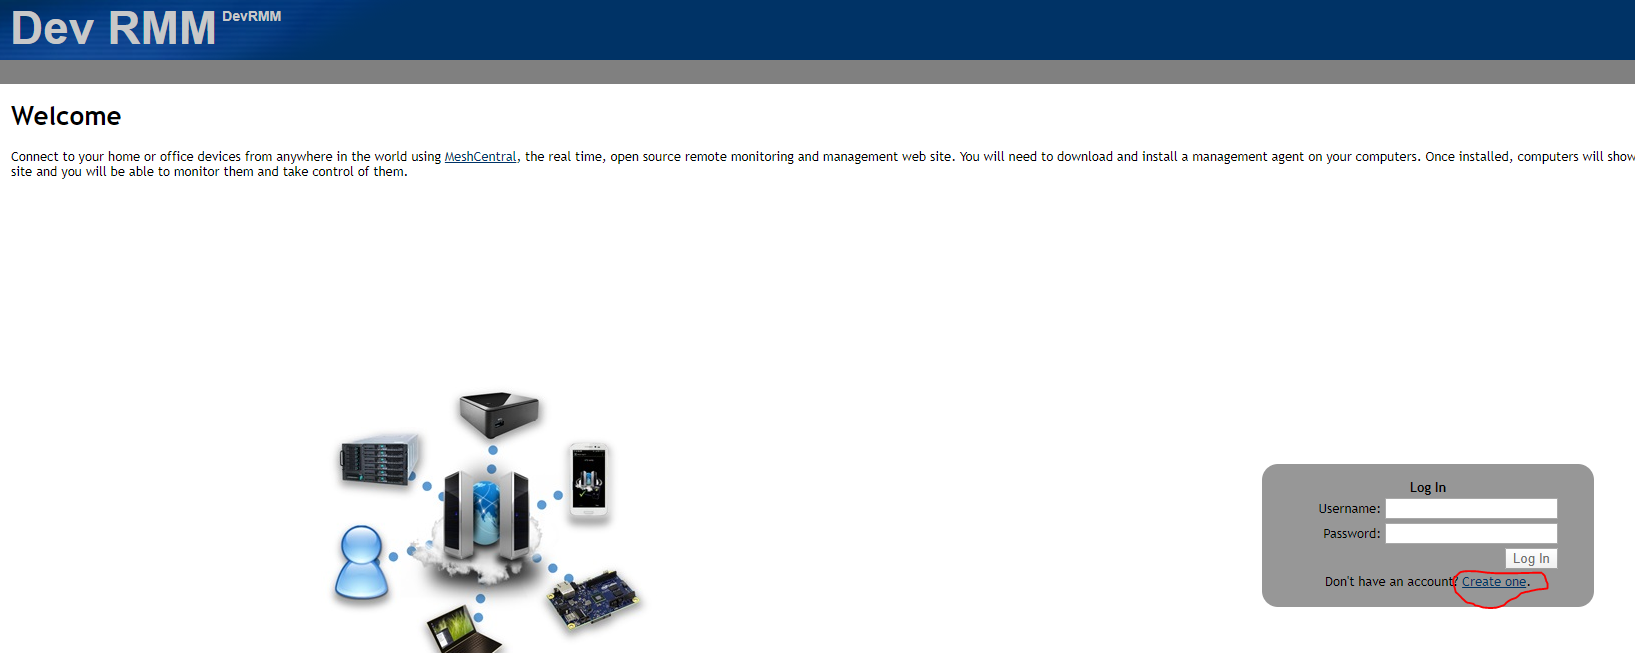
Once the install has finished, navigate to your meshcentral site
https://mesh.tacticalrmm.com
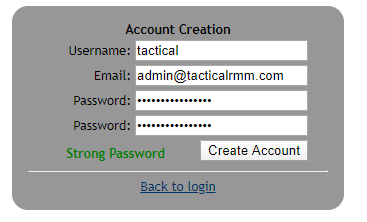
Create an account. Make sure to use the same username that you entered at the beginning of the install script when prompted for "meshcentral username"
Create a strong password (does not have to be the same as the django superuser account, recommend using a different password)
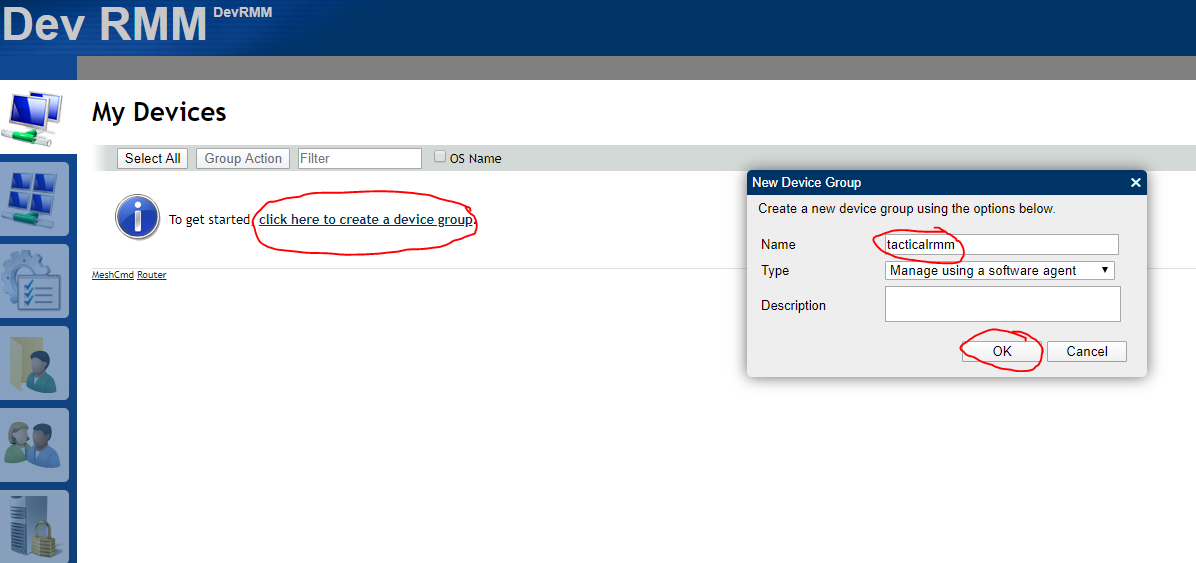
Now create a device group. Name it whatever you want:
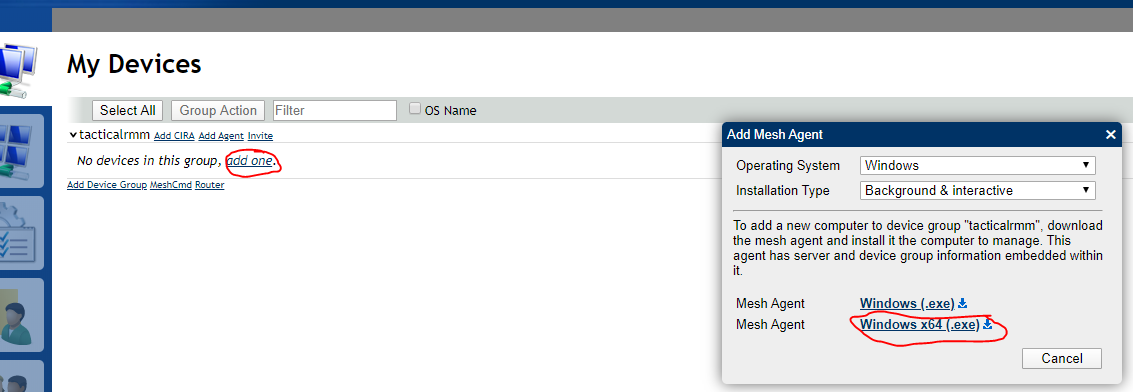
Click on "add one" and download the 64bit Mesh Agent:
You will now have a file named "meshagent64-tacticalrmm.exe" in your Downloads folder
Navigate to the rmm frontend in a new tab
https://rmm.tacticalrmm.com
Login using the username and password you created during the install script for the django superuser
Then enter the 6 digit code from your google authenticator app when prompted
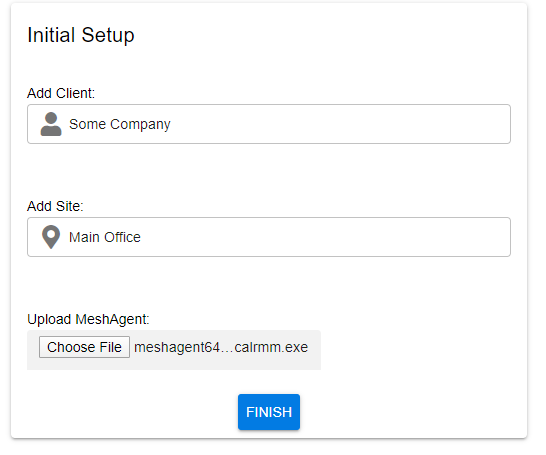
You will be redirected to the initial setup page
Create your first client and site, then upload the meshagent64-tacticalrmm.exe from your downloads folder and click Finish:
You will be taken to the homepage of the app
Install an agent
From the app's dashboard, choose Agents > Install Agent to generate an installer.


